My personal blog/portfolio website build
As a web developer, having your own website is essential if you want to showcase your skills and abilities to potential future clients or employers. With that need comes an understandable pressure for your own website to reflect the quality of what you can create for someone else.
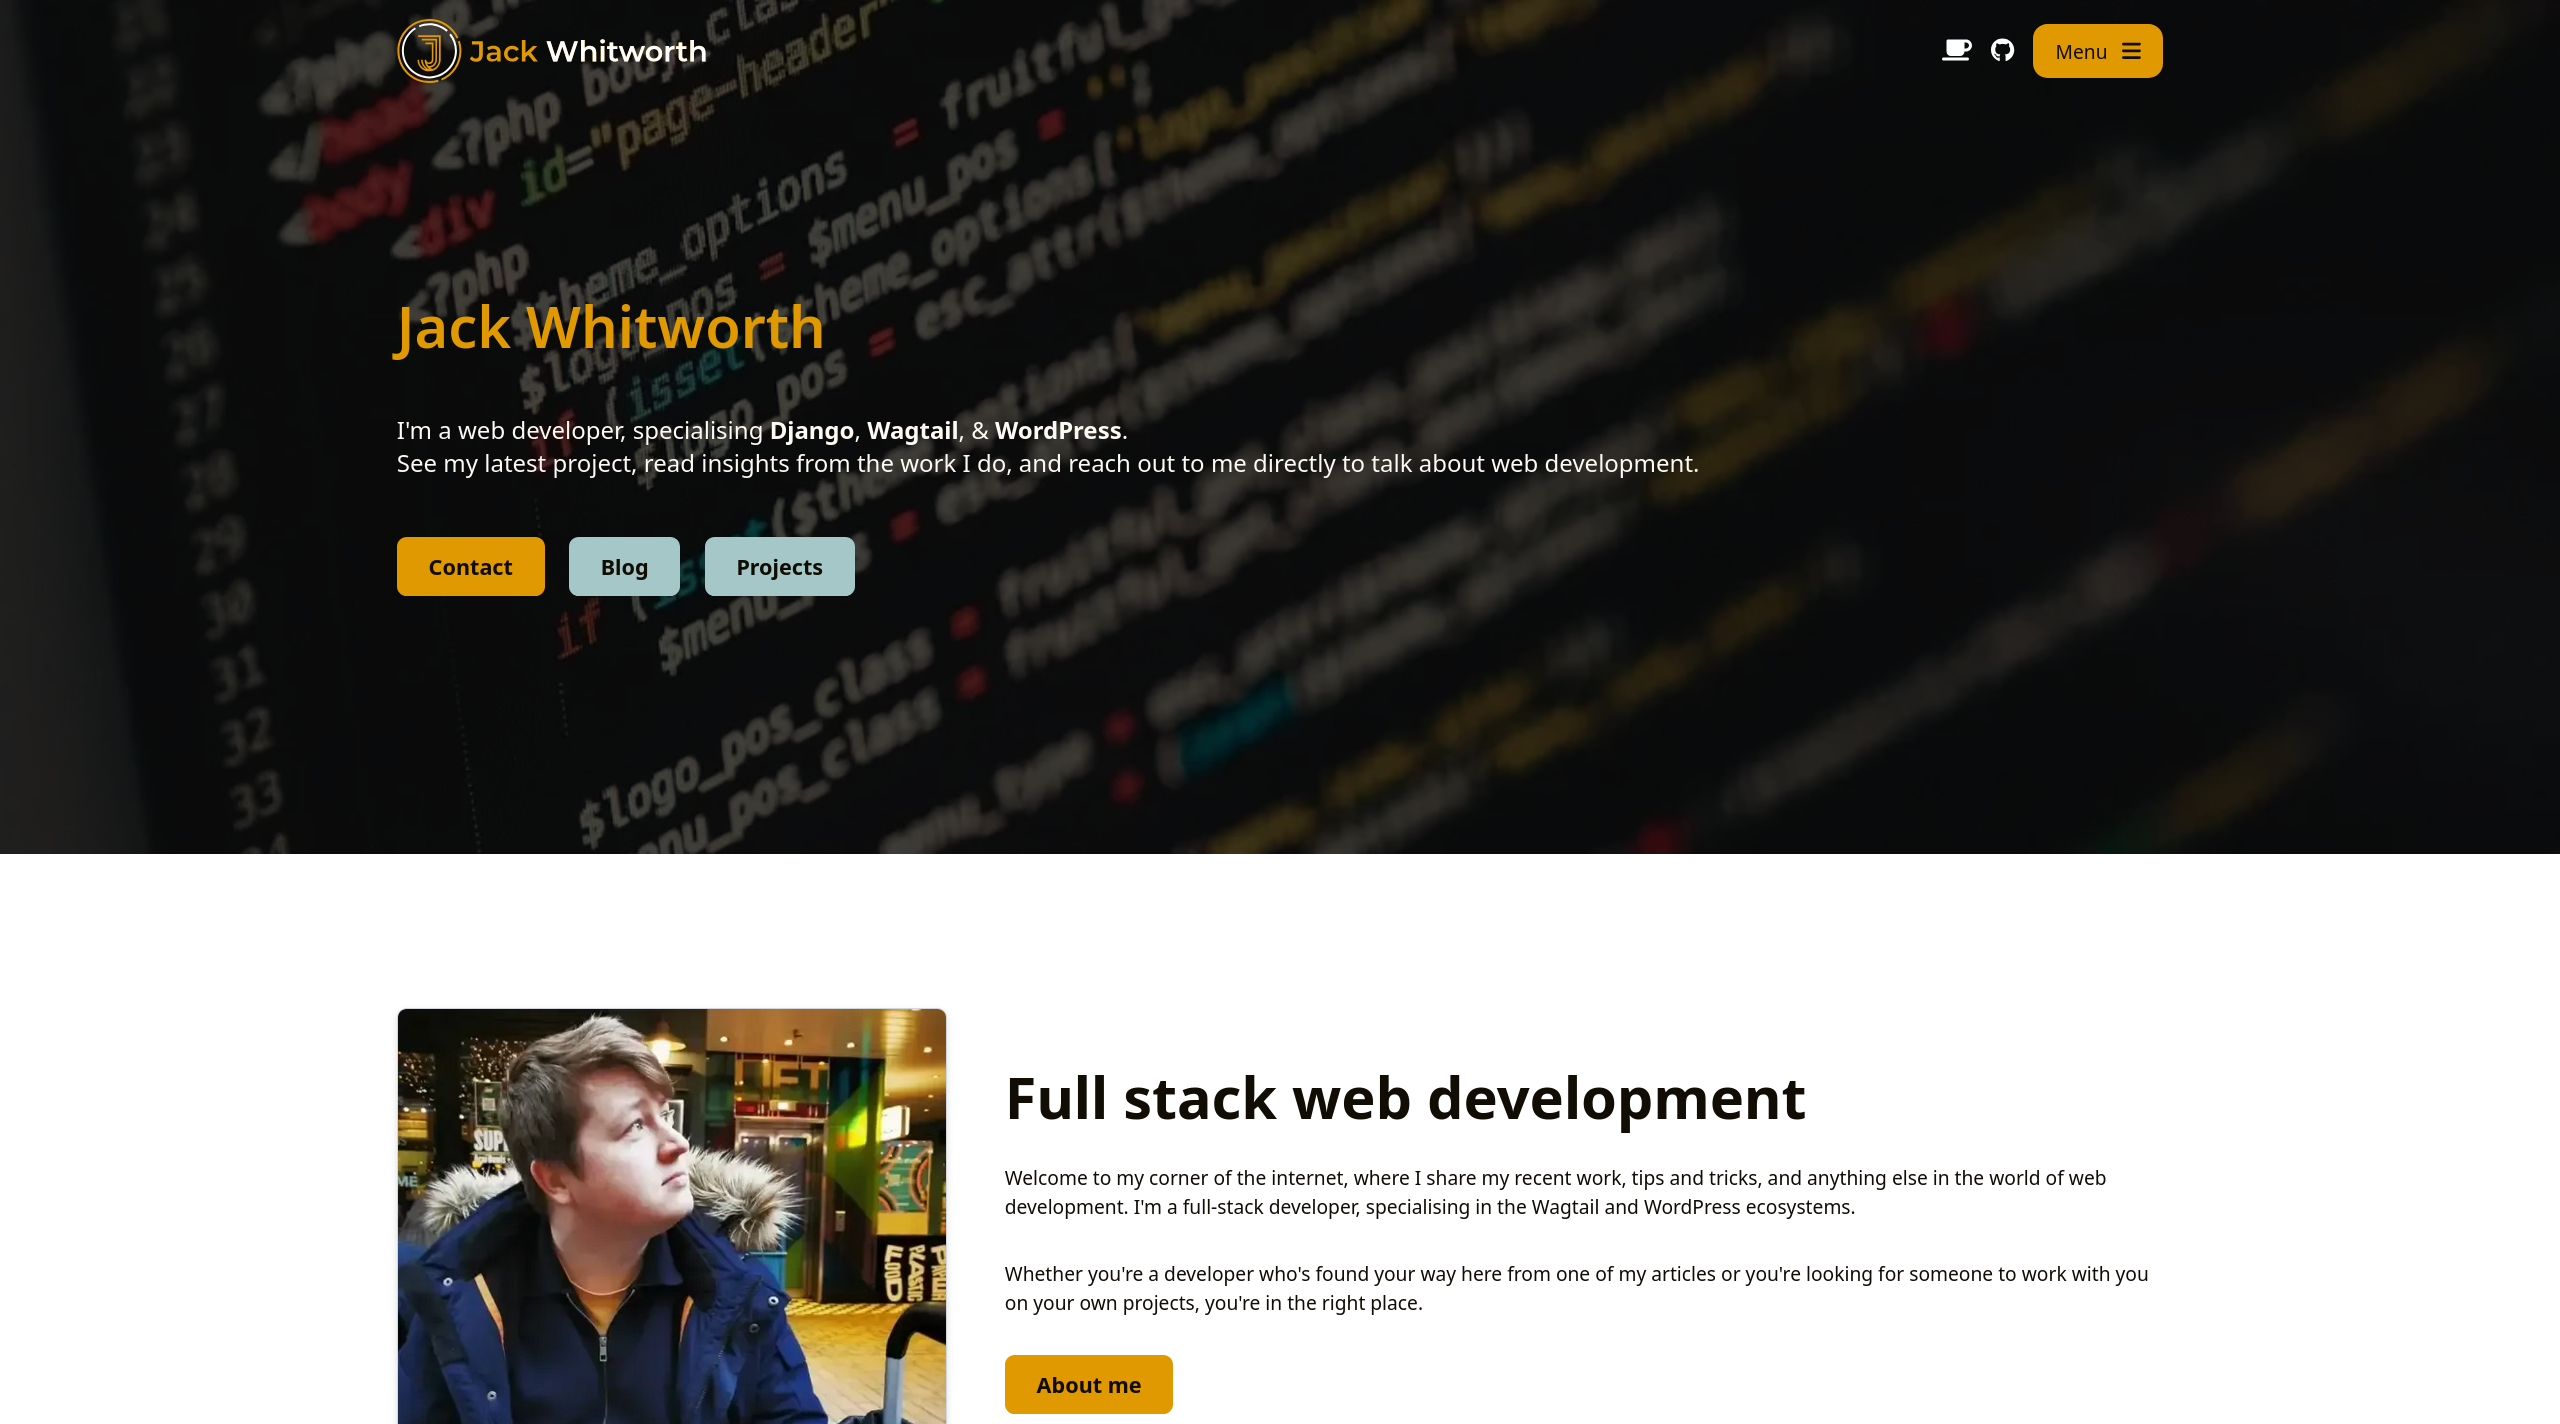
This very website that you’re on right now is my own, personal shop-front. This is my first impression for anyone to learn about me, my career, and my work. All of this is to say that this build is very important to me both personally and professionally. So how did I make it? And why did I make it this way?
Design, function, and goals
My website serves as a place for me to share my projects and blog posts, and as a way for people to send me enquiries. I kept these 3 goals in mind throughout designing and constructing the site.
The design itself is simple, clean, and content-focused. I decided to lean into the principle that the best designs are achieved by designing as little as possible. This meant leaning into fundamentals like using a set combination of spacing within elements, sticking to a 12-column grid for all content, and showing a clear visual hierarchy through font size, weight and spacing. The combination of these fundamentals, alongside a single font and a few complementary colours, brought me to what you're seeing today.
The Wagtail rebuild
This isn't the first iteration of my website. It's not even the 3rd. It might be the 5th or 6th, but, honestly, I've lost count. What is certain is that until now (October 2025), my website has always used WordPress as a foundation. That's because WordPress was the platform in which I had the most experience as a developer. But that's no longer the case.
I chose to rebuild the website from the ground up to enable me full control over everything. There are no strings attached now, and I can change anything and everything without worrying about theme compatibility, block builders, and 3rd-party code breaking. The most time-intensive part of the whole process was migrating my content, as there's no off-the-shelf way to migrate content from WordPress to Wagtail, primarily because Wagtail requires you to make your own content authoring system. Luckily, through writing some scripts, I was able to handle 80% of it programmatically, and then it was just a matter of tidying things up by hand.
Backend
As I've mentioned, this is a Wagtail site. As of launch, it's running Wagtail 7.1, the latest version, and includes some other packages to get things running how I like:
This is as close to off-the-shelf Wagtail with no customisations as I could achieve. I've extended the default components and built a content authoring system, but have done so in a way that utilises no hacky approaches or drastically custom components to ensure the best reliability and compatibility with future Wagtail features.
Frontend
Whether you love it or hate it, I've gone with TailwindCSS for the styling on my frontend. I've described it in the past as being a very 'marmite', and I'm certainly on the team of people who love using it.
Utilising TailwindCSS has been incredible for this site for a few reasons. Beyond the obvious aspects, like having a good spacing system supported out of the box, I can use their utility classes to control my content blocks easily. As an example, on my paragraph blocks in the backend, I have an 'alignment' option. If this is set to 'center', then a class of text-center is added to the block's HTML. Tailwind then takes care of the rest. This saves me from writing my own custom utility classes and then hooking them up.
Infrastructure
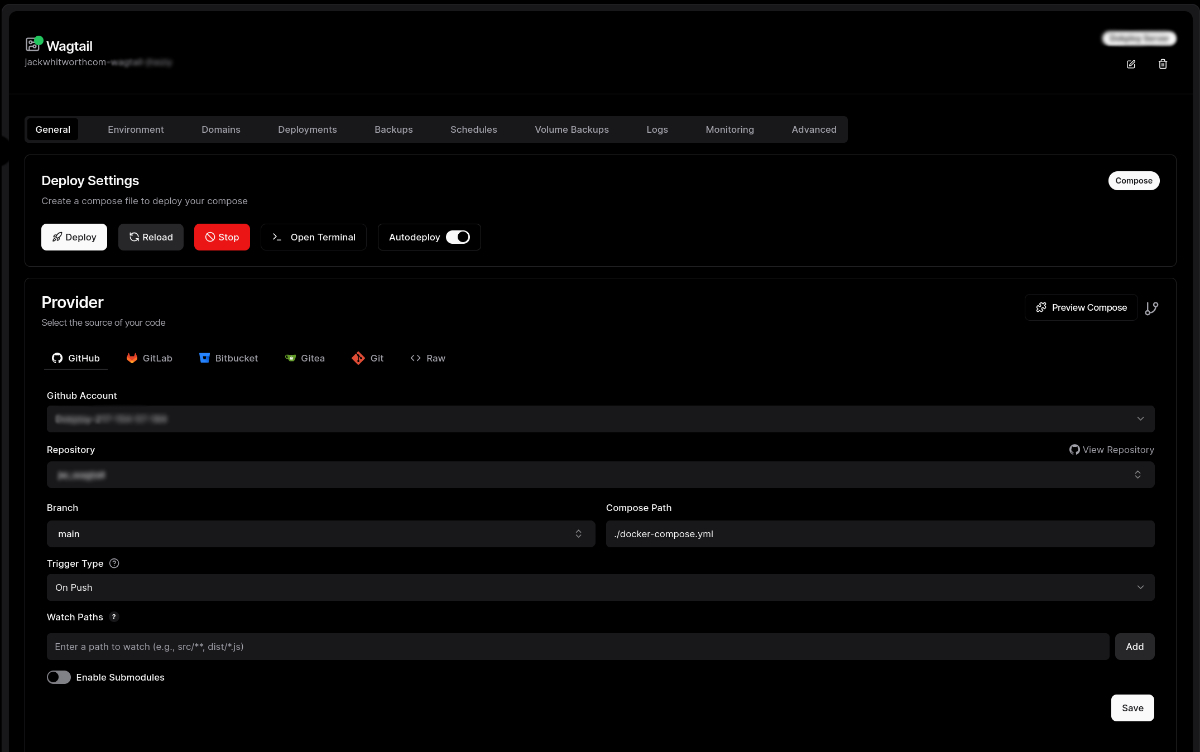
My website is hosted on a private VPS that I rent. I use a platform called Dokploy to manage my various services within isolated Docker containers. Dokploy adds some nice bells and whistles on top, such as using Traefik to forward traffic to the appropriate containers, and handling communication between them.
I use Cloudflare as a CDN for my traffic, as well as Cloudflare's R2 storage buckets for my media. Using Cloudflare speeds up my website significantly all over the globe, and protects my server from malicious traffic or common attacks such as DDoS attacks. I have several WAF rules set up within Cloudflare that protect my admin login page, as well as the contact form submission page, verifying any traffic that tries to utilise these routes and preventing any spam from happening.
By using Cloudflare's R2 storage buckets, I'm able to manage all of the code for my website independently from the media. The benefit of this is that when I work on local, staging, or the live version of the website, all of my media is readily available without the need for it to be committed to GitHub as part of the code. Additionally, the media benefits from all of Cloudflare's strengths in speed and caching, while costing me absolutely nothing due to the generous free usage tiers they offer.
Closing thoughts
I'm very happy with the new iteration of my website. Wagtail has helped to finally carry it over to being fully within my control. Whilst it's possible to build fully customisable websites with WordPress, I just find that it takes a lot more work to navigate around the ecosystem and conventions it demands you follow. Wagtail is light, flexible, and encourages the customised workflow I've desired for a long time.
If you're in the market for a new website, be that something new from the ground up or a rebuild of something existing, Wagtail might just be the choice for you. If you'd like to discuss what that process would look like, why not drop me a message?